Pet hair, dust, and lint have a way of clinging to everything—your clothes, furniture, and even your car seats. As a pet owner and DIY enthusiast, I’ve spent years experimenting with ways to keep my home clean without breaking the bank or relying on single-use products. One of my favorite discoveries? You can make a highly effective lint roller without tape. Yes, you read that right—no sticky tape required! In this guide, I’ll walk you through why a DIY lint roller without tape is a game-changer, how to make one, and tips to maximize its use, all while keeping your home eco-friendly and pet-safe.
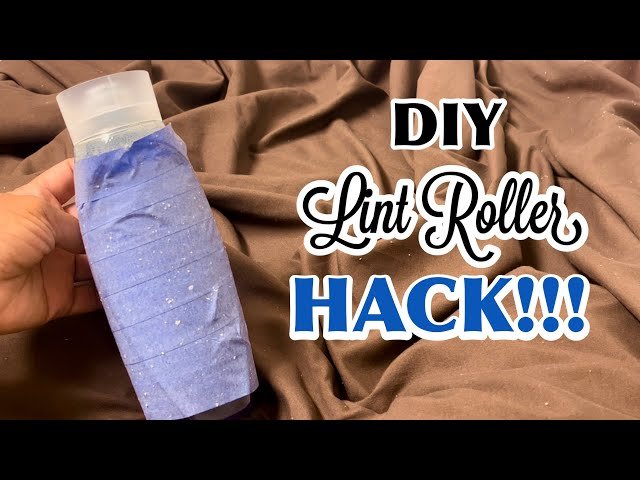
Why Go Tape-Free for Lint Removal?
Traditional lint rollers rely on adhesive tape, which creates waste and can get pricey over time. If you’re a pet owner like me, you’re probably going through rolls faster than you’d like to admit. Plus, those sticky sheets aren’t always recyclable, and the plastic handles often end up in landfills. A tape-free lint roller, on the other hand, is reusable, budget-friendly, and just as effective at picking up pet hair and debris.
Beyond the environmental benefits, a DIY lint roller without tape gives you control over the materials. You can choose non-toxic, pet-safe options, which is crucial if you have curious cats or dogs who might chew on anything left lying around. And let’s be honest—there’s something satisfying about crafting a tool that works just as well as (or better than) store-bought versions.
Materials for Your DIY Lint Roller
The beauty of this project is that you likely have most of the materials at home. Here’s what you’ll need to create a tape-free lint roller:
A cylindrical object: This will serve as the handle and base. An old rolling pin, a sturdy cardboard tube (like the one inside a paper towel roll), or even a cleaned-out soup can works perfectly.
Rubber or silicone material: This is the magic ingredient that picks up lint without adhesive. A wide rubber band, a silicone baking mat (cut to size), or even a clean rubber glove can do the trick.
Scissors or a craft knife: For cutting your rubber or silicone material to fit.
Glue or double-sided tape (optional): To secure the rubber material to the cylinder. If you want to keep it 100% tape-free, you can use a non-toxic craft glue or simply wrap the material tightly.
A textured cloth or sponge: For cleaning the lint roller after use.
Optional: Decorative fabric or paint: If you want to make your lint roller look cute while it’s sitting on your counter.
These materials are versatile, reusable, and easy to find, making this a low-cost project with high rewards.
Step-by-Step Guide to Making a Tape-Free Lint Roller
Let’s dive into the fun part—crafting your lint roller! This process is straightforward, even if you’re not a seasoned DIYer. Follow these steps to create a tool that’ll keep your home fur-free.
Step 1: Choose and Prep Your Base
Pick a cylindrical object that feels comfortable in your hand. A rolling pin is ideal because it’s sturdy and has a smooth surface, but a cardboard tube is a great lightweight option. If you’re using a can, ensure it’s clean and free of sharp edges. Sand down any rough spots for safety.
Clean the surface thoroughly to remove dust or grease. This ensures your rubber material will stick properly. If you’re feeling creative, you can paint the base or wrap it in fabric for a personalized touch—just make sure it doesn’t interfere with the rolling action.
Step 2: Prepare the Lint-Picking Surface
The key to a tape-free lint roller is the rubber or silicone material, which naturally attracts hair and lint due to its slight stickiness and texture. Here are a few options:
Rubber bands: Layer wide rubber bands tightly around the cylinder until the surface is fully covered. Overlap them slightly to avoid gaps. This method is super affordable and easy to replace.
Silicone baking mat: Cut a piece of the mat to fit the circumference of your cylinder. Wrap it around and secure it with glue or by tucking the edges tightly. Silicone mats are durable and easy to clean.
Rubber glove: Cut the palm section of a clean rubber glove and stretch it over the cylinder. This works well for smaller bases like cardboard tubes.
Whichever material you choose, ensure it’s taut and smooth to maximize contact with surfaces.
Step 3: Secure the Material
If you’re using glue, apply a thin layer to the cylinder and press the rubber or silicone material onto it. Let it dry completely before using. For a glue-free option, wrap the material tightly and use a small piece of string or an extra rubber band to hold it in place. The goal is a snug fit that won’t slip as you roll.
Step 4: Test Your Lint Roller
Take your new creation for a spin! Roll it gently over a pet-hair-covered couch, a linty sweater, or even your car’s upholstery. The rubber or silicone surface should pick up hair and debris effortlessly. If it’s not grabbing as much as you’d like, check that the material is clean and tightly secured.
Step 5: Clean and Maintain
One of the best parts of a tape-free lint roller is how easy it is to clean. Simply wipe the surface with a damp textured cloth or sponge to remove trapped hair and dust. For stubborn debris, rinse it under warm water with a drop of mild dish soap, then air-dry. Store it in a dry place to prevent mold or mildew.
Why This DIY Lint Roller Works So Well
You might be wondering how a simple rubber or silicone surface can compete with sticky tape. The answer lies in the materials’ natural properties. Rubber and silicone have a slight tackiness that attracts hair and lint without leaving residue. They also create static electricity when rolled, which pulls debris toward the surface. This makes them perfect for tackling pet hair, dust, and even small particles like dandruff or pollen.
Unlike tape-based rollers, this DIY version is reusable indefinitely, as long as you keep it clean. It’s also versatile—you can use it on clothes, furniture, curtains, and more without worrying about adhesive damage. Plus, it’s safe for delicate fabrics like wool or silk, which can get ruined by sticky tape.
Read more: Best Car Mobile Stand with Charger for 2025 Ultimate Guide
Tips for Getting the Most Out of Your Lint Roller
To make your tape-free lint roller a staple in your cleaning routine, here are some expert tips I’ve learned through trial and error:
Roll in one direction: For best results, roll the tool in a single direction rather than back and forth. This helps the rubber surface grab debris more effectively.
Clean frequently: Wipe down the roller after each use to prevent hair and dust from building up. A clean surface ensures maximum pick-up power.
Store properly: Keep your lint roller in a drawer or container to protect it from dust when not in use. This extends its lifespan and keeps it ready for action.
Experiment with textures: If you’re not getting the results you want, try a different rubber material. For example, a textured silicone mat might work better for coarse pet hair than a smooth rubber band.
Use on multiple surfaces: Don’t limit yourself to clothes and furniture. This lint roller is great for car interiors, pet beds, and even lamp shades.
Eco-Friendly and Budget-Friendly Benefits
One of the biggest perks of a DIY lint roller without tape is its impact on your wallet and the planet. Store-bought lint rollers can cost $5–$10 per pack, and refills add up fast. By contrast, this DIY version costs pennies if you use household items. Even if you buy a silicone mat or rubber bands, the investment is minimal compared to years of use.
From an environmental standpoint, this project is a win. Tape-based lint rollers contribute to plastic waste, and their adhesive sheets often aren’t recyclable. A reusable lint roller reduces your reliance on disposable products, aligning with a sustainable lifestyle. Plus, you’re repurposing items you might already have, which cuts down on unnecessary purchases.
Read more: Mastering Safe Driving with the Drive Car Joy Phone Holder Expert Insights
Customizing Your Lint Roller for Style and Function
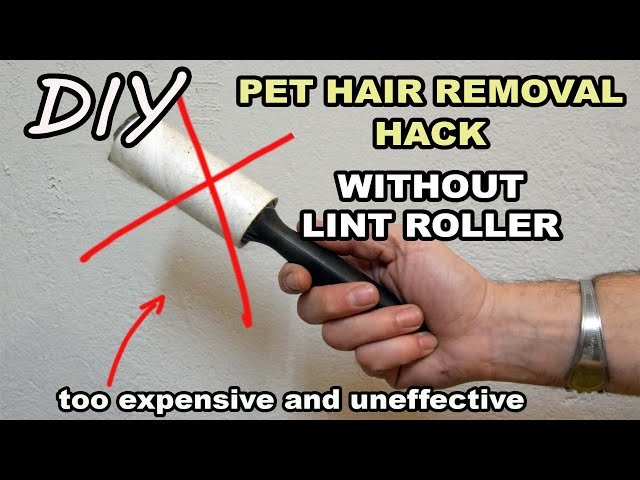
While functionality is key, there’s no reason your lint roller can’t look good too. Here are a few ways to personalize it:
Add a handle: If your base doesn’t have a built-in handle (like a rolling pin does), attach a small wooden or plastic grip for easier rolling.
Decorate the base: Wrap the ends of the cylinder in colorful fabric or washi tape for a pop of personality. Just keep the rolling surface clear.
Make it travel-friendly: Create a smaller version using a cardboard tube for on-the-go use. It’s perfect for keeping in your car or purse.
Scent it naturally: Add a drop of pet-safe essential oil (like lavender) to the cleaning cloth when wiping down the roller. It’ll leave a subtle, fresh scent on your fabrics.
Common Mistakes to Avoid
Even a simple project like this has a few pitfalls. Here’s what to watch out for:
Using low-quality materials: Thin or flimsy rubber bands can snap or lose elasticity. Opt for sturdy, wide bands or high-quality silicone.
Overloading with glue: Too much glue can create a bumpy surface, reducing the roller’s effectiveness. Use a thin layer or skip glue altogether.
Skipping cleaning: A dirty lint roller won’t pick up much. Make cleaning part of your routine to keep it working like new.
Choosing the wrong base: A base that’s too heavy or too light can make rolling awkward. Test a few options to find what feels right.
Why Every Pet Owner Needs This in Their Cleaning Arsenal
If you share your home with furry friends, you know the struggle of keeping pet hair under control. A DIY lint roller without tape is a lifesaver for quick cleanups, whether you’re prepping for guests or just want to wear a black sweater without looking like a yeti. It’s also a fantastic tool for anyone with allergies, as it grabs dust and dander that can trigger symptoms.
As someone who’s tested countless cleaning hacks, I can confidently say this is one of the most practical and satisfying projects I’ve tackled. It’s quick to make, costs next to nothing, and delivers results that rival commercial products. Plus, it’s a small but meaningful step toward a more sustainable lifestyle.
Final Thoughts on Your Tape-Free Lint Roller Journey
Crafting a DIY lint roller without tape is more than just a fun project—it’s a smart, eco-conscious solution for keeping your home clean and pet-friendly. With a few simple materials and a bit of creativity, you can create a tool that’s as effective as it is sustainable. Whether you’re battling pet hair, lint, or everyday dust, this lint roller has you covered.
So, grab those rubber bands or that old silicone mat and get rolling! You’ll be amazed at how something so simple can make such a big difference. Have you tried making a lint roller without tape yet? Share your tips and tweaks in the comments—I’d love to hear how you’ve made this project your own!

